
Have you ever dreamt of creating a new home that is perfectly tailored to your needs? The idea of building a house can feel overwhelming, especially for a first-timer. From securing a plot of land to choosing the final finishes, the home-building journey is a significant undertaking. This guide is here to demystify the process, breaking it down into manageable steps. We’ll walk you through everything you need to know, helping you turn your dream home vision into a reality.
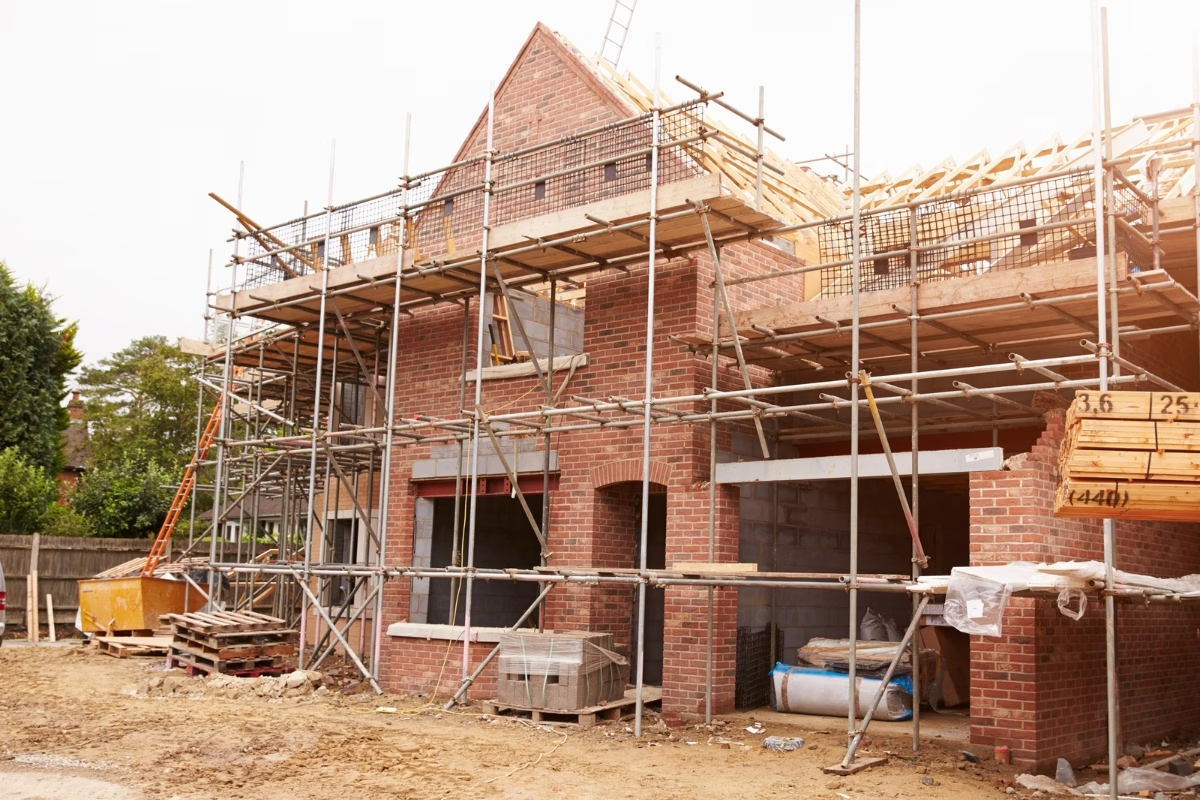
Understanding the Basics of Building a House in the UK
Before you start digging foundations, it’s vital to grasp the fundamentals of the construction process. Building a new home in the UK involves much more than just bricks and mortar; it’s a project that requires careful planning, a solid understanding of costs, and knowledge of legal requirements.
From choosing a home design that fits your lifestyle to selecting the right building materials for longevity and efficiency, every decision impacts the final outcome. In the following sections, we’ll explore the key differences between building and buying, the construction stages, and the challenges you might face.
Key Differences Between Building and Buying a Home
The choice between building a house and buying an existing one is one of the biggest decisions you’ll make. Buying a home is often seen as more convenient, with a quicker move-in time and fewer decisions to make. However, you will likely have to compromise on design, location, or features, and older properties may come with hidden repair costs and lower energy efficiency. The purchase price might seem lower initially, but renovations can add up.
On the other hand, building a custom home gives you complete control. You decide the layout, materials, and finishes, ensuring your brand-new home is exactly as you envisioned. Every element is new, meaning fewer maintenance issues and higher energy efficiency. This is a significant advantage compared to an older property.
The main disadvantage of building is the longer timeline and the sheer number of responsibilities you will have. It requires significant effort and careful financial management. While the upfront costs can be higher, the ability to create a home perfectly suited to you is a powerful incentive for many.
Advantages and Challenges of Self-Build Projects
Embarking on a self-build project is an exciting prospect that offers unparalleled freedom and satisfaction. The primary advantage is creating a home that is truly your own, from the floor plan to the final fixtures. You have the power to build a highly energy-efficient house using modern, sustainable materials.
However, the challenges are just as significant. A self-build requires intensive project management and a considerable time commitment. You are responsible for every decision, from hiring a main contractor to managing budgets and timelines. Before you begin, you should consider:
- Your budget and whether you have a contingency fund of 10-15% for unexpected costs.
- The amount of time you can realistically dedicate to project management.
- Your tolerance for stress, as delays and rising costs can be common.
While you can save money by taking on some tasks yourself, the responsibility for the entire project rests on your shoulders. It’s a demanding but ultimately rewarding path if you are prepared for the commitment involved.
Overview of the UK Home Construction Process
The home construction process in the UK follows a structured sequence of stages to ensure safety and quality. It all begins long before any ground is broken, with planning, design, and securing the necessary permissions. Once you have the green light, the physical construction process can start.
The first major phase involves preparing the site and laying the foundations. This is followed by the framing stage, during which the house’s skeleton is erected. After the structure is in place, the “first fix” begins, which includes installing plumbing, electrical wiring, and heating systems. Next, insulation is added, and the interior walls are put up.
The final stages involve the “second fix,” where fixtures and fittings are installed, and the exterior is completed with roofing and finishes. The entire construction process is overseen by building regulations inspectors to ensure every part of the work meets national standards, leading to a final inspection before you can move in.
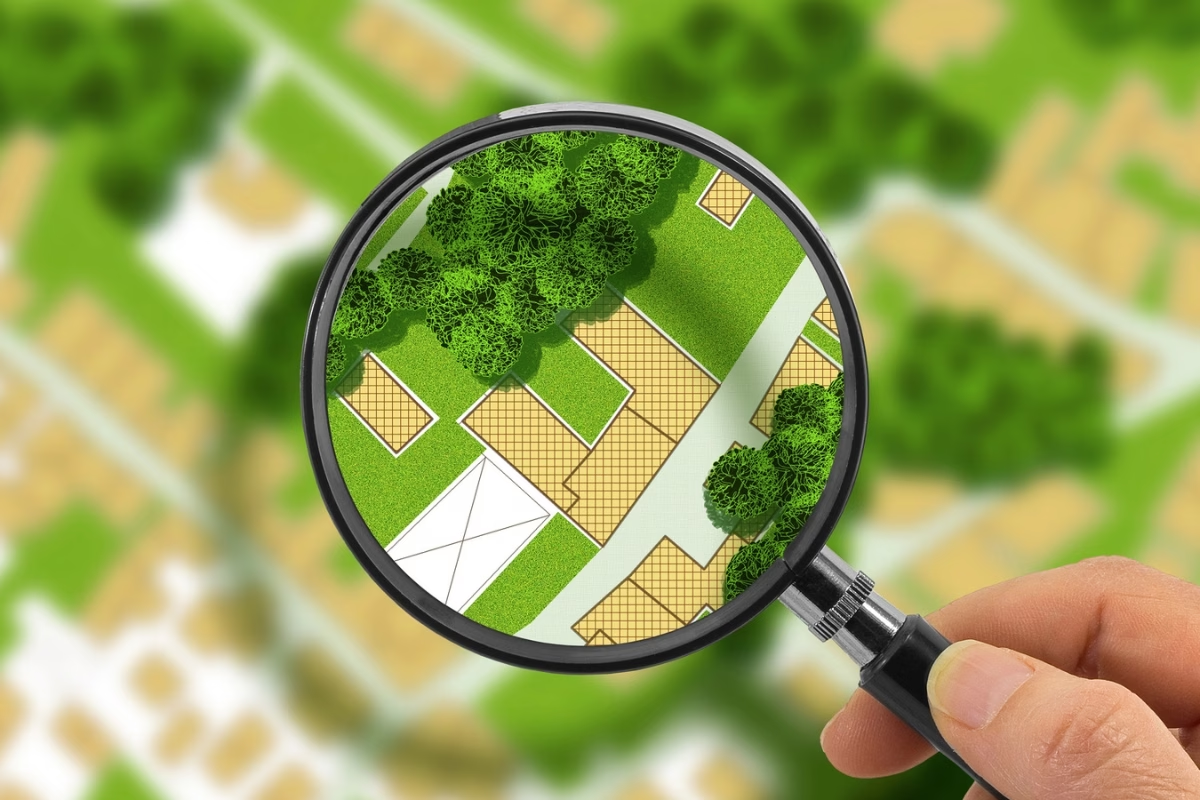
Essential Considerations Before You Start Your Home Build
Before you get carried away with design ideas, it’s crucial to address the practicalities of home construction. Proper planning at this early stage will save you time, money, and stress down the line. Key considerations include establishing a realistic budget, finding the right plot of land, and understanding the planning permission process.
Hiring a skilled project manager or working with an experienced architectural firm can help you navigate these initial steps. They can provide invaluable guidance on the overall cost and feasibility of your vision. Let’s look at how to manage your budget, choose a location, and set realistic expectations.
Budgeting and Estimating Costs Per Square Metre
One of the first questions you’ll ask is, “How much will this cost?” Construction costs can vary widely based on location, size, and the quality of finishes. A good starting point is to estimate the cost per square metre. Factors that significantly affect this price include the design complexity, the building materials you choose, and regional labour costs.
The overall cost will also include purchasing the plot of land, professional fees for architects and surveyors, and costs for securing planning permission and connecting utilities. It is wise to set aside a contingency fund of 10-15% of your total budget to cover any unexpected expenses that may arise during the build.
Here is a look at the average cost to build a house in the UK, though remember that these are estimates and will differ based on your specific project.
| House Type | Average Building Cost |
|---|---|
| 2-bedroom house | £185,000 – £280,000 |
| 3-bedroom house | £240,000 – £365,000 |
| 4-bedroom house | £295,000 – £440,000 |
| 5-bedroom house | £320,000 – £480,000 |
Choosing the Right Location and Plot
The location of your future home is just as important as its design. Finding the perfect plot of land can be challenging, as plots in desirable urban areas are scarce and often expensive. You may need to look further afield, which could offer more space for your money but might impact your commute.
When you find a potential plot, it’s essential to do your research. The local authority will have specific planning policies for the area that could affect what you are allowed to build. Before making a purchase, consider:
- Access to utilities like water, electricity, and gas.
- The ground conditions, such as poor soil, may increase foundation costs.
- Any existing planning permissions or restrictions on the land.
Choosing the right plot is a critical first step that will influence your entire project. Take your time to find a location that suits your lifestyle and budget and has the potential to accommodate your dream home design.
Design Preferences and Planning Permission
Your personal preferences will shape every aspect of your home design, from the number of bedrooms to the kitchen style. While it’s exciting to imagine your perfect space, these choices are one of the most important factors affecting your build costs. Luxurious finishes, bespoke fittings, and complex architectural features will naturally increase the price.
Working with an architectural firm can help you balance your desires with your budget. An experienced architect can translate your ideas into a feasible home design that aligns with your financial plan. They can also guide you on material choices that offer the best value without compromising on quality.
Before construction can begin, you must obtain planning permission from your local council. Your home design will be assessed to ensure it complies with local development plans and policies. Submitting a well-thought-out design that respects the local character can significantly improve your chances of getting your plans approved without delays.
Timeline Expectations for New-Build Homes
Building a house is not a quick process. How long does it take?
The average timeline for new-build homes in the UK can be anywhere from nine to fifteen months from the start of construction to completion. Owner-built homes often take the longest, averaging around 15 months, while contractor-built homes are slightly quicker at about 12 months.
This timeline doesn’t include the pre-construction phase, which involves months of planning, design, and permit applications. Once construction begins, the schedule depends on factors like the complexity of the build, weather conditions, and the availability of materials and labour. Each part of the build must be completed before the next stage can begin.
Effective project management is key to keeping the build on track. Your project manager or main contractor will coordinate the different trades and ensure the project flows smoothly from one phase to the next. While delays can happen, having a realistic timeline from the outset helps manage expectations.
What You Need to Get Started
Once your plans are in place and your finances are sorted, it’s time to gather what you need to begin the home-building adventure. This involves sourcing the right equipment and building materials and, most importantly, assembling a team of skilled professionals to guide you through the process.
Having the right people on your side, from an architect to a reliable project manager, can make all the difference. They will help you navigate the complexities of the build and ensure your vision is executed correctly. Let’s explore the essential resources, professionals, and legal requirements for your project.
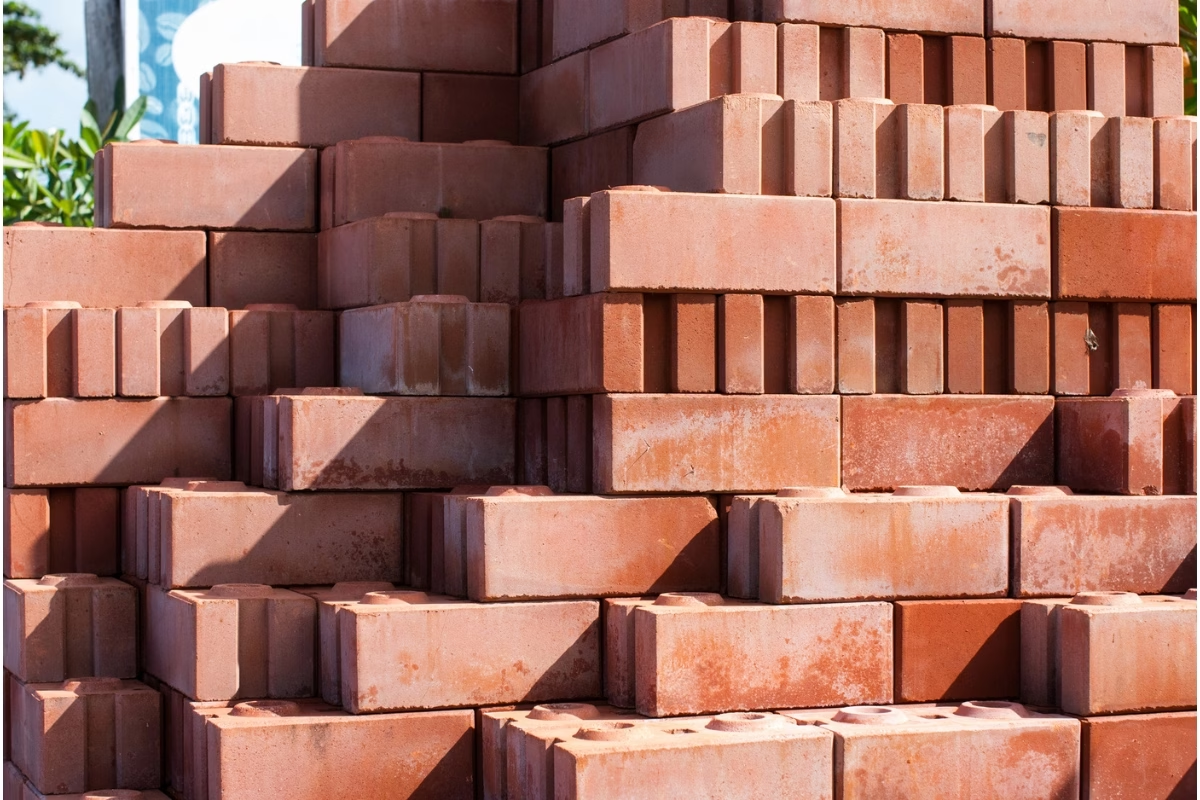
Required Equipment, Materials, and Resources
The main steps involved in building a house require a vast array of equipment and materials. The process starts with site preparation, which involves heavy machinery like excavators and bulldozers to clear and level the land. This initial phase sets the stage for everything that follows.
Once the site is ready, you’ll need a steady supply of construction materials. The specific items will depend on your home’s design, but the list is extensive. Common materials include:
- Concrete for the foundations.
- Timber or steel for the framing.
- Bricks, blocks, or cladding for the external walls.
Sourcing high-quality building materials is essential for the durability and integrity of your home. Your builder or project manager will typically handle the procurement of these resources, ensuring they arrive on-site when needed to avoid delays in the construction schedule.
Professionals to Hire: Architectural Services, Builders, and Surveyors
You can’t build a house alone. Assembling a team of reliable professionals is one of the most critical steps for any self-build home project. Your first port of call should be an architectural firm that can provide expert architectural services. A company like DJS Architectural Services can help you design your home, create detailed blueprints, and navigate the planning process. Whether you need New Build Architects or Self Build Architects, their expertise is invaluable.
Next, you will need to hire builders or a main contractor to carry out the construction work. It’s crucial to choose a reputable company with a proven track record. Always check references and look at examples of their previous work. For larger projects like house extensions or complete new builds, a good main contractor will manage all the subcontractors, from plumbers to electricians.
You’ll also need surveyors to conduct site surveys and inspect the build at key stages. This ensures the work meets structural and regulatory standards. For anyone in the Nottingham area, finding an experienced architectural services provider is a great way to start your project on the right foot.
Legal Requirements and Building Regulations in the UK
Navigating the legal landscape is a crucial part of the construction process. Before you start, you must be aware of the key permits and regulations. The two main requirements are planning permission and compliance with building regulations. These are not the same thing; you will likely need approval for both.
Planning permission is granted by your local authority and relates to the appearance and use of the building. It considers the impact your new home will have on the surrounding area. Your architectural firm can help prepare and submit the application, ensuring it adheres to local planning policies.
Building regulations, on the other hand, set the standards for the design and construction of buildings to ensure health and safety. These building codes cover everything from structural integrity and fire safety to energy efficiency and accessibility. A building control surveyor will inspect the work at various stages to certify that it complies with all requirements.
Step-by-Step Guide to Building a House
With planning complete and your team in place, you are ready to begin construction. This step-by-step guide breaks down the construction journey into manageable phases, helping you understand what to expect at every turn. Knowing what comes next can make the entire experience feel less daunting.
Your construction team will work through a logical sequence of tasks, and your project manager will be with you every step of the way to ensure a smooth transition from one phase to the next. Let’s look at the first step: preparing the site and getting the final permits.
Step 1: Site Preparation and Obtaining Permits
The first physical step in your home-building journey is site preparation. This is where your vision starts to take shape on the ground. A construction team will arrive with heavy equipment to clear the plot of land of any trees, rocks, or debris. The site is then excavated and graded to ensure it’s level and that water drains away from your future home.
While this work is underway, your project manager will be finalising all necessary permits with the local authority. Even with planning permission secured, there are often pre-commencement conditions that must be satisfied before work can officially begin. This is a critical checkpoint to ensure everything is in order.
With a clear, level site and all permits in hand, the layout of your home’s footprint can be staked out. This marks the precise location of the foundation, making this first step a truly exciting milestone in the construction process.
Step 2: Laying the Foundation
After site preparation, the next stage is the foundation work. This is the structural base upon which your entire house will rest, so it needs to be done perfectly. Crews will begin by pouring concrete footings, which are thick bases that sit below the frost line to prevent the ground from shifting and causing cracks.
Next, the foundation walls are constructed. Depending on your home’s design, this will create a full basement, a crawl space, or a concrete slab-on-grade foundation. Forms are set up, reinforcement, such as rebar, is installed, and concrete is poured. For some designs, concrete blocks may also be used to build up the foundation walls.
The concrete then needs time to harden and strengthen during the curing process. It’s crucial that it remains stable and protected from the elements during this period. Once cured, the foundation is inspected to ensure it’s sound before the framing can begin.
Step 3: Framing and Structural Work
This is the stage where your house truly starts to look like a house. Once the foundation walls are ready, the framing team begins constructing the home’s skeleton. They build the floor systems first, then the exterior walls, and finally the internal walls that will define your rooms. It’s an exciting phase as you can finally walk through the spaces and get a feel for the layout.
The carpenters follow the blueprints precisely, creating all the door openings and window apertures. The roof structure, consisting of trusses or rafters, is then added, completing the main framework. This process happens relatively quickly and dramatically transforms the building site.
Once the main framing is complete, the exterior walls and roof are covered in sheathing, such as plywood or OSB (oriented strand board), to add strength and stability. This creates a solid structure ready for the next stages of construction, such as roofing and installing windows and doors.
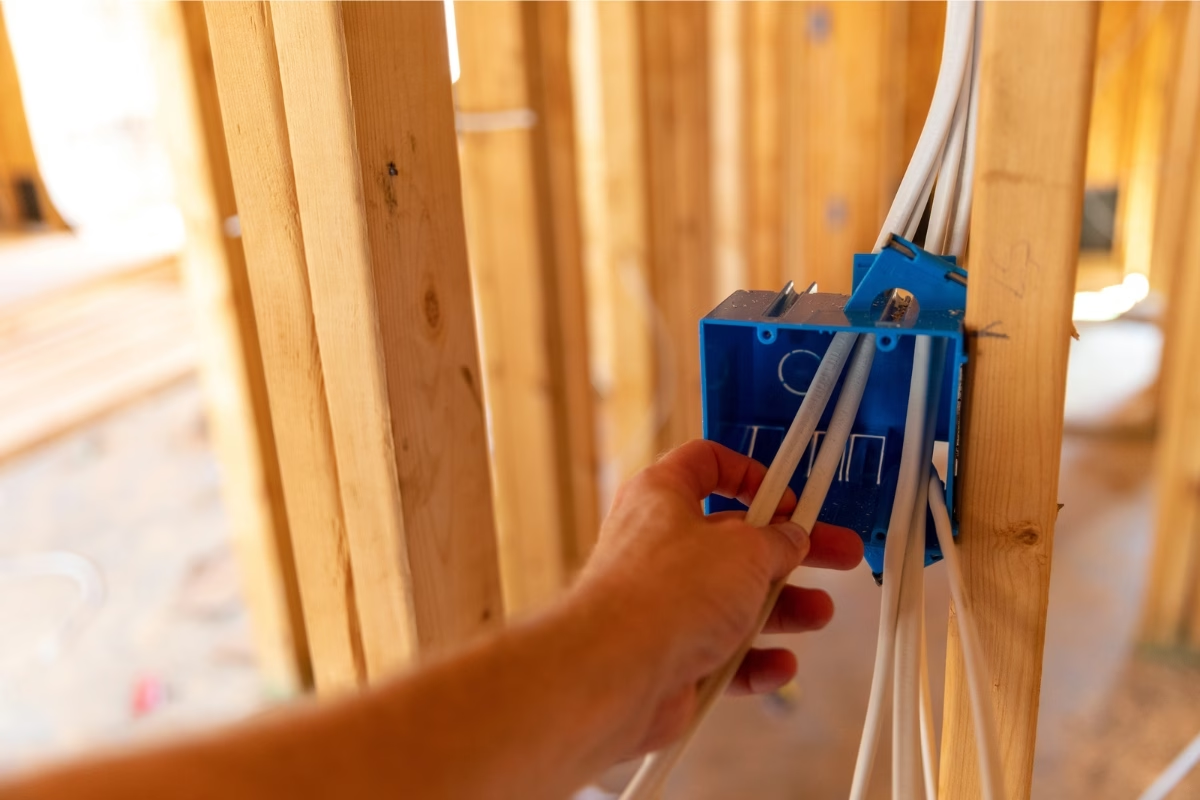
Step 4: Installing Plumbing, Electrical, and Heating Systems
With the framing complete but before the walls are closed up, it’s time for the “first fix” or “rough-in.” This is when subcontractors install all the essential systems that will run behind your walls, under your floors, and above your ceilings. This includes the pipes for your plumbing and the ductwork for your heating systems.
Simultaneously, the electrical work begins. Electricians will run all the electrical wiring through the interior walls to the locations for future outlets, switches, and light fixtures. This is a complex job that requires careful planning to ensure every room has the power it needs, exactly where you want it. Your project manager will coordinate these different trades to work efficiently.
This stage is critical, as all this infrastructure will soon be hidden. Before the next step, the plumbing, electrical, and mechanical systems will be inspected to ensure they are installed correctly and meet all safety codes. This is one of the main steps in ensuring your home is safe and functional.
Step 5: Insulation and Wall Construction
Now that the internal systems are in place and have passed inspection, the focus shifts to insulation. This is a vital step for your home’s energy efficiency. Insulation is installed in all the external walls, the loft, and sometimes between floors to help regulate temperature, reduce your energy bills, and even provide soundproofing. A protective house wrap is also applied to the exterior sheathing to prevent moisture from getting in while allowing vapour to escape.
Once the insulation is installed and inspected, it’s time to close up the walls. Plasterboard is hung on all the internal walls and ceilings, transforming the open framing into defined rooms. The seams between the boards are then taped and filled with joint compound, and the entire surface is sanded smooth to prepare it for painting.
With the walls up, your house will start to feel much more like a finished home. This phase marks a significant transition from a construction site to a living space. The quality of the plastering work is important as it provides the canvas for your interior decoration.
Step 6: Roofing and Exterior Finishes
While work continues inside, the exterior of your brand-new home is also taking shape. The roofing is installed to make the structure watertight and protect it from the elements. This is followed by the installation of windows and exterior doors, which further seal the building envelope.
With the house protected, the exterior finishes can be applied. This is where your home’s personality and curb appeal really come to life. Whether you’ve chosen brick, stone, timber cladding, or rendered plaster, this stage is all about creating the external look you envisioned in your plans.
Trim, gutters, and downpipes are also installed during this phase. The choice of materials and the quality of the workmanship on the exterior are crucial, as they not only define your home’s aesthetic but also provide the first line of defence against the weather for years to come.
Step 7: Interior Finishes and Fittings
This is the “second fix” stage, where all the details that make a house a home are added. The focus is on interior finishes and fittings, where your design choices become a reality. Carpenters will install interior doors, skirting boards, architraves, and any built-in cabinets or shelving.
Next, painters will apply the final coats of paint to the walls and ceilings, bringing colour and life to each room. Hard flooring, such as wood or tiles, is laid, and kitchen and bathroom cabinets and countertops are installed. It’s a busy phase with many different tradespeople working to bring everything together.
Finally, electricians and plumbers return to complete their work. They install light fixtures, switches, and sockets, as well as sinks, toilets, showers, and taps. Once this stage is complete, your house will be very close to being ready for you to move in.
Step 8: Landscaping and Driveway Installation
As the interior work wraps up, attention turns back to the outside of your finished home. The driveway installation and any paths or patios are completed now that the heavy construction traffic has finished. This provides clean and safe access to the property.
The final landscaping is also carried out at this stage. The ground is given its final grade to ensure proper drainage, and topsoil is spread in preparation for planting. Lawns are seeded or turfed, and any trees, shrubs, or flowerbeds included in your design are planted.
This step is all about enhancing your home’s kerb appeal and creating a pleasant outdoor environment. While you can always add to your garden over time, getting the basic landscaping done before you move in gives the property a complete and welcoming appearance from day one.
Step 9: Final Inspection and Handover
The last step before you get the keys is the final inspection. A building control officer will visit the property one last time to ensure that all work has been completed correctly and meets all building code requirements. This is a comprehensive check of everything from safety features to structural integrity. How can you ensure quality? This inspection process is a key part of it.
Once the home passes this inspection, a certificate of occupancy (or completion certificate) is issued. This official document confirms that the home is safe and legal to live in. Without it, you cannot legally move in, so it’s a critical milestone that gives you peace of mind.
Finally, you will have a walk-through with your builder or project manager. This is your chance to inspect everything yourself, learn how the systems work, and create a “snagging list” of any minor defects that need fixing. Once you are satisfied, the handover takes place, and the house is officially yours!
Common Mistakes and How to Ensure Quality
Building a new house is a complex project, and it’s easy for things to go wrong. Being aware of common mistakes can help you avoid costly delays and ensure the building process runs as smoothly as possible. Good planning and proactive quality control are essential for your peace of mind.
From budget overruns to communication breakdowns, many potential pitfalls can turn your dream project into a stressful ordeal. The following sections will highlight some frequent mistakes and offer practical tips for maintaining high standards throughout your build.
Frequent Pitfalls in House Building
Even with months of planning, the building process can present unexpected challenges. One of the most common mistakes is not having a large enough contingency fund. Unexpected issues, from poor ground conditions to material price increases, can quickly inflate your budget. A fund of 10-15% is recommended.
Another frequent pitfall is underestimating the impact of factors outside your control. Poor weather conditions can cause significant delays to the construction process, particularly during the groundwork and framing stages. It’s also important not to make too many changes to the design once construction has started, as this can lead to delays and spiralling costs.
To avoid common mistakes in the building process, you should:
- Set a realistic budget and stick to it.
- Hire a reputable and experienced team.
- Finalise your design before construction begins.
- Communicate clearly and regularly with your project manager.
Tips for Maintaining Quality Control Throughout the Project
Ensuring quality throughout your build gives you peace of mind that your new home is built to last. The best way to do this is through diligent project management and regular communication with your team. Don’t be afraid to ask questions and visit the site frequently to see the progress for yourself.
Adherence to building regulations is non-negotiable. These rules exist to guarantee safety and quality, so make sure your builder is following them to the letter. The inspections carried out by building control are a key part of the quality control process, but they are not a substitute for your own vigilance.
For top-tier quality control, consider these tips:
- Hire professionals with excellent references and a portfolio of high-quality work.
- Agree on a detailed contract that specifies the materials and standards of workmanship required.
- Keep a photographic record of the build at every stage. This proactive approach helps catch any issues early before they become bigger problems.
Conclusion
Building your own home is an exciting journey filled with opportunities for creativity and personalisation. As we’ve explored, understanding the basics of home construction, from budgeting to selecting the right professionals, is essential for a successful project. Equip yourself with knowledge about common pitfalls and quality control measures to ensure your vision comes to life without unnecessary headaches. Remember, preparation is key to navigating this complex process smoothly. If you’re ready to take the first step towards building your dream home, don’t hesitate to reach out for a free consultation. Your dream house is closer than you think!
Frequently Asked Questions
Q: How much does it cost to build a house in the UK?
A: The cost to build a new build in the UK varies widely. Construction costs typically range from £1,800 to £3,000 per square metre. The overall cost for home construction depends on location, size, and the quality of finishes, with a 3-bedroom house often costing between £240,000 and £365,000.
Q: What is the average time taken to build a house from start to finish?
A: The average timeline to build a new home, from the start of the building process to completion, is typically between 9 and 15 months. The exact duration depends on the project’s complexity, the construction company’s efficiency, and your project manager’s effectiveness in preventing delays.
Q: Who do I need to hire for a self-build home project?
A: For a self-build project, you should hire an architectural firm for the design and planning stages. You will also need a reliable main contractor or individual home builders, surveyors for inspections, and potentially a dedicated project manager to oversee the entire process and coordinate the different trades.
Q: What are the most important factors affecting build costs?
A: The most important factors affecting the overall cost are the size and location of the property. The choice and quality of building materials and construction materials also have a major impact. Complex designs and high-end finishes will significantly increase the average cost compared to a more standard build.
Q: What permits and regulations should I be aware of before starting construction?
A: Before starting the construction process, you must obtain planning permission from your local authority. You also need to ensure the entire build complies with UK building regulations. These building codes are essential for ensuring your home is safe, and inspections will be carried out to check for compliance.
Q: How do I choose the right location and land for my new home?
A: To choose the right plot of land, consider your personal preferences regarding location and accessibility. Research the area and check with the local authority about planning rules. Ensure the plot can accommodate your desired home design and has access to essential utilities before you commit to buying.
Q: How can I ensure quality during the home-building process?
A: To ensure quality control, hire reputable professionals and use a detailed contract. Effective project management, regular site visits, and strict adherence to building regulations are crucial. The final inspection provides official confirmation that the build is up to standard, offering you complete peace of mind.
Q: What are some common mistakes to avoid when building a house?
A: Common mistakes in the building process include poor budgeting, lack of a contingency fund, and underestimating delays caused by bad weather. A good idea is to finalise your design before the construction process starts and hire an experienced project manager to keep the project on track.

Sandy has worked within architecture since 1991 and, as Director of DJS Architectural Services Ltd, has been providing architectural services to numerous clients throughout the region since 1998.
Sandy will personally deal with your project from inception through to the completion of approvals with the support of Justine, who manages the administration side of each project. This ensures you receive a personal and professional service throughout the process.
Sandy prides himself on building strong and lasting customer relationships, and you can rest assured you will receive the attentiveness your project deserves at all times. He endeavours to keep you up-to-date at every stage of the project, ensuring you are aware of the next steps.